
 0
0 
FASOLASUCHUSABERRANT FASOLASUCHUS
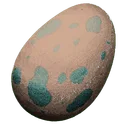
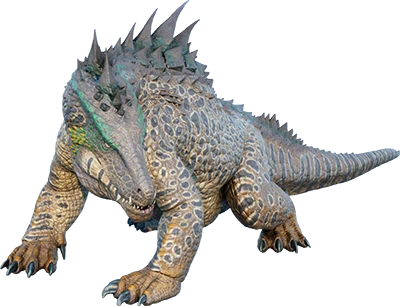
The Aberrant Fasolasuchus is a carnivore found on 4 maps. Tamed, it harvests Flint and Raw Meat better than most creatures. It is rideable.
Stat Calculator
point distribution & extractionRoll Quality
how lucky these wild points areKnock Out
Aberrant Fasolasuchus at a glance
the game's own base values — the calculator above levels them| Stat | Base (level 1, wild) | Per wild level | Per tamed level |
|---|---|---|---|
| Health | 950 | 190 | 5.4% |
| Stamina | 350 | 35 | 10.0% |
| Oxygen | 150 | 15 | 10.0% |
| Food | 2,750 | 275 | 10.0% |
| Weight | 450 | 9 | 4.0% |
| Melee Damage | 100% | 5% | 1.7% |
| Movement Speed | 100% | — | 1.0% |
| Torpidity | 1,350 | 81 | — |
A wild Aberrant Fasolasuchus starts at 950 health and 100% melee damage.
Taming food: Exceptional Kibble, Raw Mutton, Raw Prime Meat, Cooked Lamb Chop, Cooked Prime Meat, Raw Prime Fish Meat, Raw Meat, Cooked Prime Fish Meat. Torpor drains at 1.5 per second once it is unconscious.
Breeding: lays an egg, incubating in 4h 59m, and the baby matures in 7d 17h 11m with 23 imprints available. The egg needs 47–50°C to incubate . Mating cooldown runs 18h to 2d.
Best at gathering: Flint, Raw Meat, Hide.
Drops on death: Raw Meat, Hide.
Taming Calculator
Lv 150 · knockoutHow You Get One
method, in orderStep by step
- Wait for it to bury itself. It does this on its own — you cannot force it, and nothing you shoot it with in the meantime produces torpor.
- Throw a
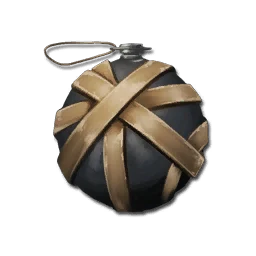 Grenade at the mound, or place C4 on top of it and detonate. This is what forces it back out.
 - It surfaces disoriented. Mount it immediately.
- Now ride it into rocks. Its own collisions are the torpor source. Metal, crystal and raw salt nodes give more torpor per hit than plain rock, so steer for those.
- Keep the control bar off zero while you do it — if it empties you are thrown and it burrows again.
- It eats
 Exceptional Kibble once it is down.
Also true
- The torpor drain is slow, so being dismounted part-way does not cost you much progress.
- There is no dart count on this page because no quantity of darts will ever drop it.
Torpor
- This creature is torpor-immune to conventional tranquilisers. Darts, arrows and Narcotics will not drop it, so the torpor figures elsewhere on this page describe its stat, not a route to taming it.
Holding it still
Nothing throwable immobilizes a Aberrant Fasolasuchus.
Timers
start them when you knock it outServer Rates
every number on this tab is calculated at these ratesTame Guide
traps, methods & egg runsThe 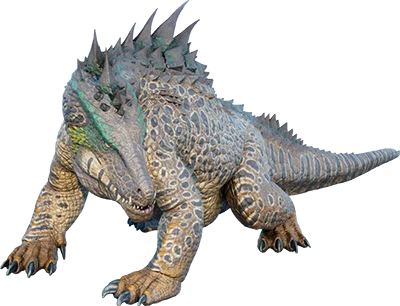 Fasolasuchus has a rather unique process to KO it; you have to wait until the Fasolasuchus buries itself and either throw a grenade at the mound or place C4 on top of the mound and detonate it. This will cause the Fasolasuchus to emerge in a disoriented state, at which point the player can interact with it and ride it. When riding, the player must 'drive' the Fasolasuchus into rocks to gain torpidity and ensure the control bar does not reduce to 0. Successfully driving it into a rock-based resource will fully restore the control bar. Metal, crystal, and raw salt nodes will cause more torpidity compared to standard rocks. While it can also hit trees, this will not induce torpor or reset the control bar, and should generally be avoided when possible. After it collides with something, there will be a brief period where it will be uncontrollable as it either turns clockwise or counter-clockwise; if it continues to hit things in this state, you are at its mercy as you will not be able to control it. This process can take a very long time for a high-level Fasolasuchus, and you may find yourself partially across the map in some cases.
If the Fasolasuchus goes airborne by falling off a cliff or the control bar reaches 0, you player will be dismounted, and you will need to lose its aggro until it buries itself again. However, there is a little leeway in this mechanic and you may stay mounted when falling off a small ledge. If you do get dismounted, their torpor drain is slow so you will not lose much KO progression.
Once knocked out, it can be tamed as normal by feeding it its preferred food.
Due to the plethora of metal nodes on the surface region of Aberration, taming a Fasolasuchus there is much less time-consuming compared to Scorched Earth. However, it's advised to wait until a day where it is 10% day/90% night (days ending in 7, 8, and 9). Wait until after 05:30, at which point 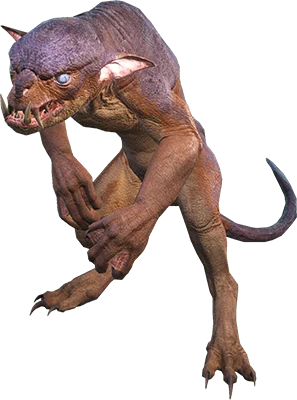 Nameless and Reapers will no longer spawn. From there, you have free reign to knock out the Fasola without much interference which shouldn't take more than 2 in-game hours in most cases. However, you will want to ensure that you are out of the surface region by 11:00 on those days. After it's knocked out, you can give it the required taming food and leave render distance, then return during the next night cycle which will start around 14:30; as long as it's not rendered during the day, it will not take any damage. Nameless/Reapers will not spawn until 17:30 so you have time to do any maintenance on the tame, such as giving narcotics. Once tamed, you can simply Cryopod the Fasola to keep it safe and leave the area. Due to the immense damage that Reapers do, it's best to wait until the aforementioned timeframes to where they will not spawn in order to secure your new tame.
Breeding
egg → adultDrops & Harvest
On death
Abilities
what it does and how you trigger it 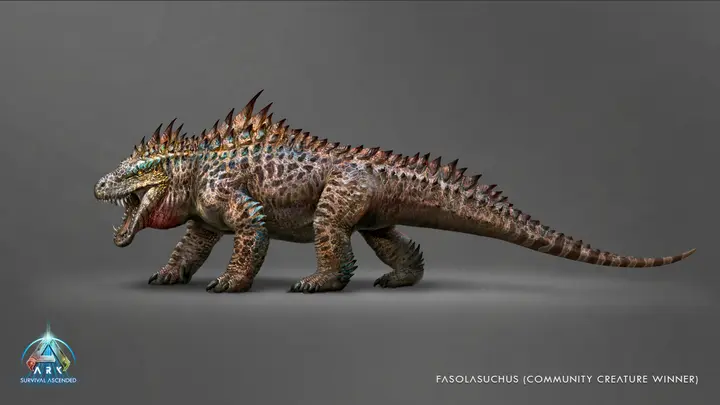
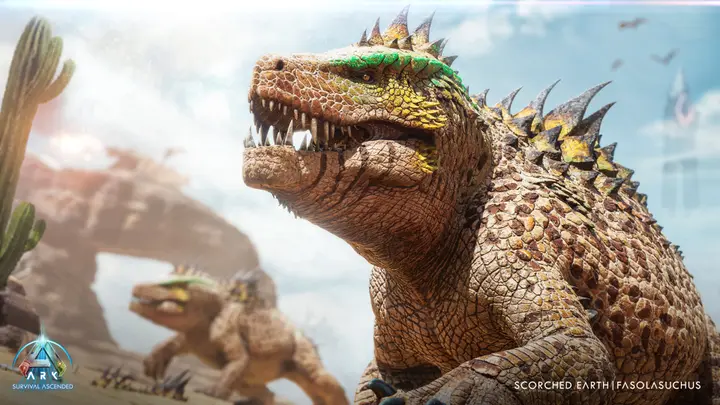
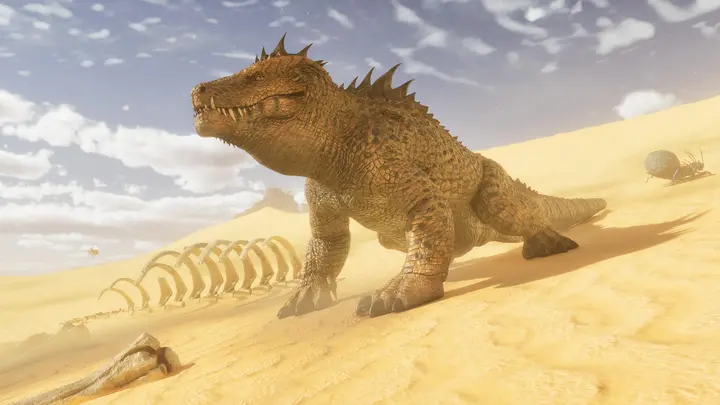
- Bite Primary attack
The
Fasolasuchus bites the target for 66 damage. This attacks applies Armor Corrode to the target, which increases the damage that it takes for 10 seconds by 2.5%, this effect can be stack up to 10 times, decreasing the target's damage resistance down to 25%, timer resets with each bite.5 stamina · 0.89s cooldown - Tailwhip40px Secondary attack
The Fasolasuchus uses its tail to throw sand at the target for 12 damage. This attacks does different effects depending if the target creatures is tamed or not: *If the creature is wild it will flee from the Fasolasuchus until the effect ends (Bosses are not affected). *If the creature is tamed it will be unable to attack for the duration of the effect. *The duration of the effect depends of the target's drag weight up to 950, which is the highest duration of 10 seconds.
40 stamina · 30s cooldown - Bury Jump
The Fasolasuchus bury itself under the ground. It cannot bury if it is above some hard surface. Once burried the Fasolasuchus can move freely under the ground, but it constantly consumes Stamina while in movement. If the Fasolasuchus don't moves for 3 seconds while buried it will camouflage as a sand pile and it will recover Stamina, but also its rider will start to lose Oxygen. It can only be seen in this state by players of the same tribe. If the Fasolasuchus collides with a rock while it is digging under the ground, it will only collect Flint from the rock.
- Ambush Attack Primary attack
While the Fasolasuchus is under the ground it can bite above it and get out of the ground for 66 damage. This attacks has the same properties as the primary attack.
5 stamina - Sandstorm40px Secondary attack
The Fasolasuchus starts moving in circles around a small area continuously, making a little sandstorm in the progress. Every player and creature inside that area will reduce its Movement Speed, players also will get dismounted of their mounts and the flying creatures will be shot down from the sky. If the Fasolasuchus loses 10% or more of its total Health this action will be cancelled.
25/s stamina - Quicksand Primary attack
The Fasolasuchus converts the ground inside the Sandstorm area into quicksand. The targets trapped inside the quicksand starts to slowly descend until they are completely buried by the sand, after they are completely buried they will receive damage to then come back to the surface. The damage that this action does not scales with the Melee Damage, however, it is a percentage damage and it depends of both the Health and the drag weight of the targets trapped.
- Venomous Spikes
Similar to the primary attack effect, if the Fasolasuchus receives damage from melee attacks, the aggresor will get the Armor Corrode effect. Also the aggresor will always receive 4 damage with every hit it does to the Fasolasuchus.
- Bury
The Fasolasuchus has a bury option on its wheel menu, after ordering this action the Fasolasuchus buries itself, though buried wild Fasolasuchus are visible through the sand/dirt that they dig up, tamed Fasolasuchus are invisible to non-allied players.
Details
everything else the game files recordWhere It Lives
4 mapsThe Aberrant Fasolasuchus lives on these maps. We don't have a heat map for it yet, so this is the map list rather than where to look on each one.