
 0
0 
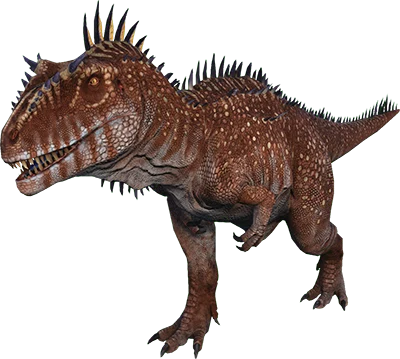
CARCHARODONTOSAURUS
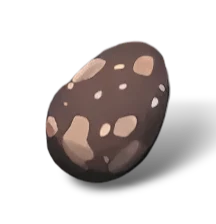
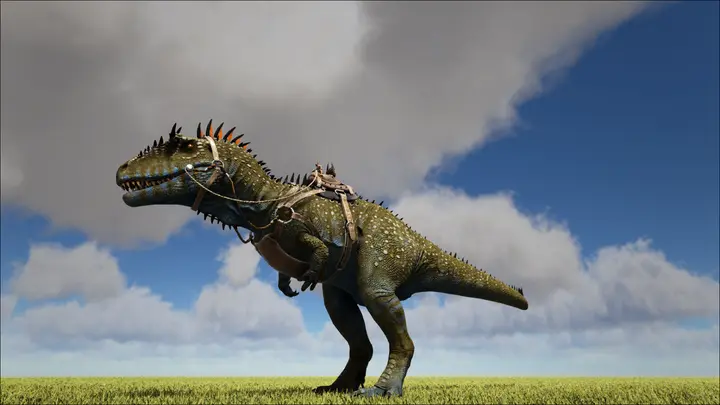
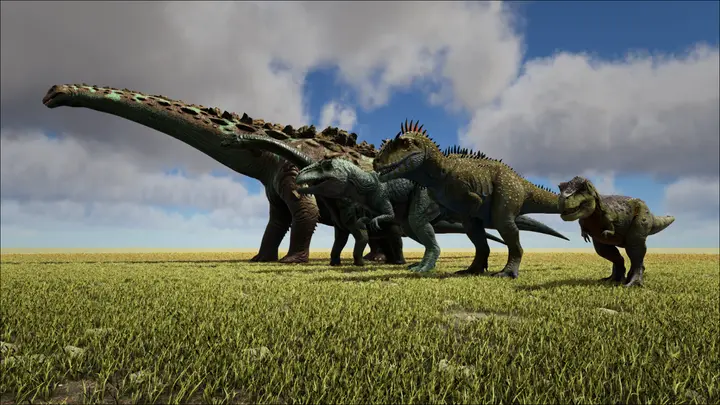
The Carcharodontosaurus is a carnivore found on Astraeos, with a drag weight of 950. Tamed, it harvests Raw Meat and Raw Prime Meat better than most creatures. It is rideable.
Stat Calculator
point distribution & extractionRoll Quality
how lucky these wild points areKnock Out
Carcharodontosaurus at a glance
the game's own base values — the calculator above levels them| Stat | Base (level 1, wild) | Per wild level | Per tamed level |
|---|---|---|---|
| Health | 70,000 | 56 | 0.1% |
| Stamina | 480 | 2.9 | 2.5% |
| Oxygen | 150 | 0.4 | 2.5% |
| Food | 4,000 | 10 | 2.5% |
| Weight | 650 | 13 | 1.0% |
| Melee Damage | 100% | 5% | 0.9% |
| Movement Speed | 100% | — | 0.3% |
| Torpidity | 6,000 | 360 | — |
A wild Carcharodontosaurus starts at 70,000 health and 100% melee damage. Its drag weight is 950, which decides what can carry it. Killing one gives 750 base XP.
Breeding: lays an egg, incubating in 2d 1h 59m, and the baby matures in 10d 3h 59m with 30 imprints available. The egg needs 37–39°C to incubate . Mating cooldown runs 18h to 2d.
Immobilised by: Large Bear Trap.
Best at gathering: Raw Meat, Raw Prime Meat, Chitin, Keratin, Hide.
Drops on death: Raw Meat, Hide, Giganotosaurus Heart.
Taming Calculator
Lv 150 · knockoutHow You Get One
method, in orderStep by step
- Trap it. This is not optional — the whole method depends on it being unable to leave.
- Drag creature corpses to it and let it eat. A trust meter appears above it and fills as it feeds.
- When trust is full, mount it. A taming bar appears.
- Kill creatures while riding it. The bar fills from the kills, not from food.
Also true
- Torpor-immune — tranquilisers will not drop it, and the trap has to hold a conscious animal.
- Bigger corpses count for more, so the practical prep is a large-carnivore kill before you start rather than a stack of small ones.
Torpor
- This creature is torpor-immune to conventional tranquilisers. Darts, arrows and Narcotics will not drop it, so the torpor figures elsewhere on this page describe its stat, not a route to taming it.
Holding it still
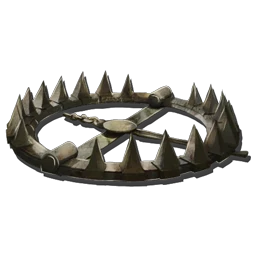 Large Bear TrapSame idea as the
 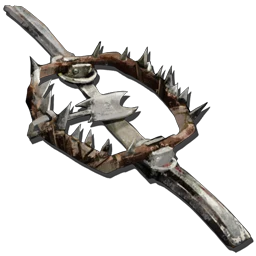 Bear Trap, sized for the big stuff. Bait it into walking over one.
That's the full list — nothing else immobilizes a Carcharodontosaurus, per the game's own immobilizer table (drag weight 950).
Timers
start them when you knock it outServer Rates
every number on this tab is calculated at these ratesTame Guide
traps, methods & egg runsThough similar to one another, the Carcharodontosaurus is tamed not through knock-out like the 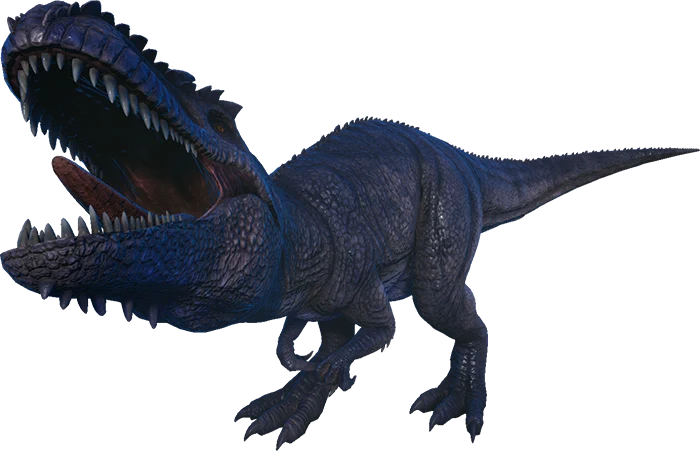 Giganotosaurus, but passively through dragging fresh kills to it; appeasing the animal through offerings to build trust, showing the beast you can hunt for it, before it will allow you to hunt with it. This can be a dangerous and difficult process, as the Carcha lives in areas in which it can be surrounded by numerous wild carnivores that will attempt to eat the offering you give it before it can do so itself;
 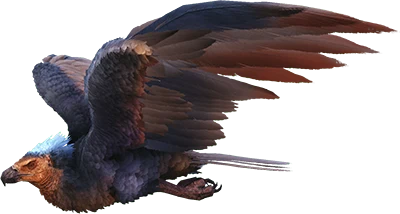 Argentavis especially are a plague and a scourge to this stage. You will want to begin the taming process by eliminating any and all wild carnivores anywhere near the Carcharodontosaurus. Once this is done, you will know it has accepted your offering if it rears up and sniffs at the air, before walking over to slowly eat the kill at its leisure. The very second you see it start to sniff the air: drop the body immediately and retreat as quickly as you can by any means necessary. If your offering is not enough to completely fill the trust meter in one feeding, the Carcha will not hesitate to eat you after it's finished with your offering.
The higher the drag weight of the offered body, the more it fills the Carcha's trust meter, which quickly degrades if not filled in one sitting. This can make trying to build trust with smaller bodies more difficult, especially since the Carcha often has trouble accepting multiple offerings in quick succession. Once trust is established with the Carcharodontosaurus, it will allow the survivor to climb aboard and give them the chance to show they are worthy to guide its bloodlust. This will begin a short window of time in which you are allowed to ride and command the wild Carcha, before either taming is completed, or you are bucked off (600 second initially). You will get booted off the back at certain intervals of taming (every 20% for a lvl 150 with 1x taming rates, servers with higher taming rates reduce or eliminate the frequency in which you are bucked off). If you are bucked off before reaching a taming interval this will result in a loss of taming effectiveness. If you are bucked off its back, you must repeat the steps of offering it corpses, before it will allow you to re-mount and continue the taming process. Taming is progressed through landing killing blows on prey while riding the Carcha, but beware that while doing this, any damage the Carcha takes during will lower the taming effectiveness, resulting in lower bonus levels once taming is completed. Focus on prey you know has less of a chance of successfully retaliating and damaging the Carcha. When taming is completed, you will fall off the Carcha's back, and riding it from then on will require its saddle.
Listed below are short tips and strategies to consider that might help ease the difficulty of the task of taming the Carcharodontosaurus:
• Console vs PC: On the PC version of the game, your mount is capable of carrying bodies for you, bodies that are too big for humans to drag by hand, which massively alleviates the difficulty of offering the Carcha corpses. Console does not have this luxury, so either more intensive efforts or alternative strategies must be taken into consideration.
• PvE vs PvP: It can actually be more difficult to tame a Carcha on PvE settings than PvP. On PvP settings, you can release baby creatures from Cryopod, unclaim, slaughter, and then offer them to the Carcha. The best strategy is to utilize baby 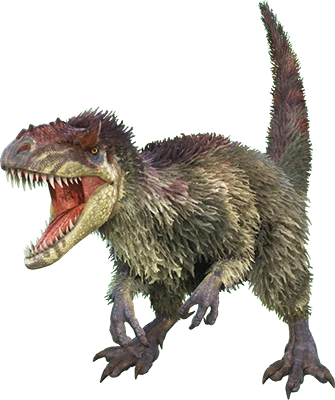 Yutyrannus or a baby
 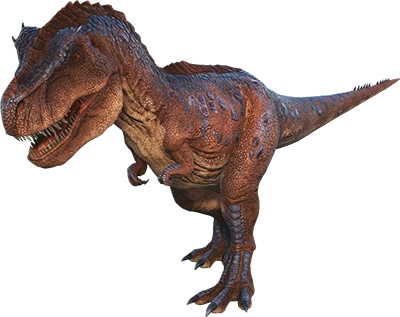 Rex, which have the required drag weight to fill the trust meter in one go, and whose corpses are still able to be dragged by the player in their infancy. You can also use unclaimed dinos with high maximum health like
 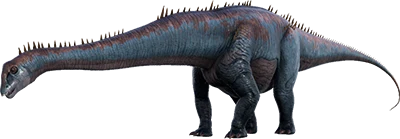 Diplodocus as fodder for the riding segment of the taming process, allowing for taming to be done in a very controlled environment. PvE settings prevent this strategy, unless the Disable Friendly Fire setting is disabled. Be aware that you can still use your babies as sacrifices to fill its trust meter by letting the babies starve to death even with Friendly Fire disabled.
• Flyer Platform Unaligned Basing: If this setting is enabled, a 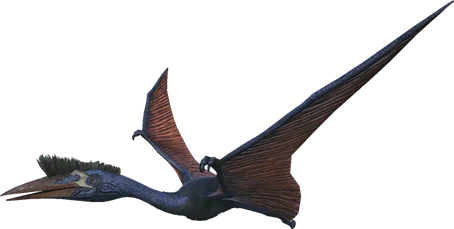 Quetzal with a
 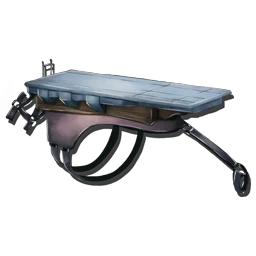 platform saddle may be used with the above strategy. With a partially closed 'slaughter box' built on its back to prevent losing your bait, you can position a flying Quetzal above the wild Carcha, and utilize the baby Yutyrannus and Cryopod technique, without putting yourself in danger of being attacked by the Carcha; dragging the slaughtered corpse to the edge of the platform, waiting for the sniffing animation, then dropping the bait. Even after the Carcha allows you on its back, the Quetzal can be set to follow and function as a flying safety net to escape to if the Carcha bucks you off its back. This is perhaps the easiest and safest strategy to employ.
• Trapping: Building a trap to hold the Carcha in a safe and controllable area for the trust feeding segment presents issues. Due to the dino AI, the Carcha often has difficulties accepting offered bodies when it is confined by structures, and even after it has been freed from them. This can outright ruin the taming process, though exiting the Carcha's render distance and returning has been known to fix this issue. Results vary, use traps at your own discretion, you have been warned. Trapping does however function as a good means of safely containing the Carcha in one location, if you have to abandon the taming process, and need to come back another time.
• Equipment: Bringing a few of these things along can help in the taming process, primarily by keeping you alive if your trust food isn't good enough to fill the meter in one feeding, or the Carcha bucks you off. A full suit of 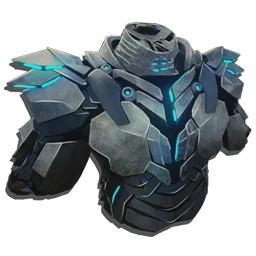 Tek Armor fueled up with
 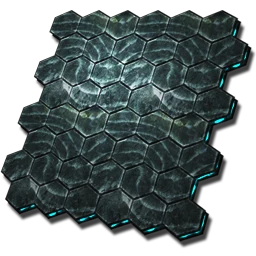 Element is probably the best escape option for both the trust feeding and buck-off scenarios; quickly able to catapult you up into the air with a jetpack thrust and get you out of range from the Carcha's bites. A
 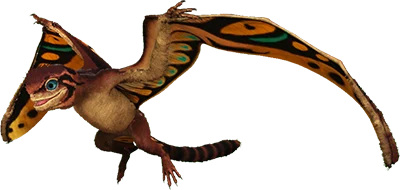 Sinomacrops can do this as well, but lacks the speed of the Tek Pack's thruster, and is the less safe option. As a distraction,
  Giant Bee Honey can be dropped from the tool bar to save your skin, and
 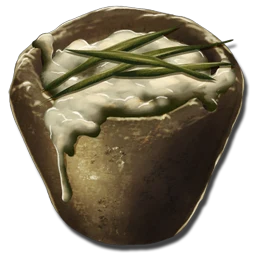 Bug Repellant can be used to lower the Carcha's aggression range against you.
Breeding
egg → adultDrops & Harvest
On death
Abilities
what it does and how you trigger it 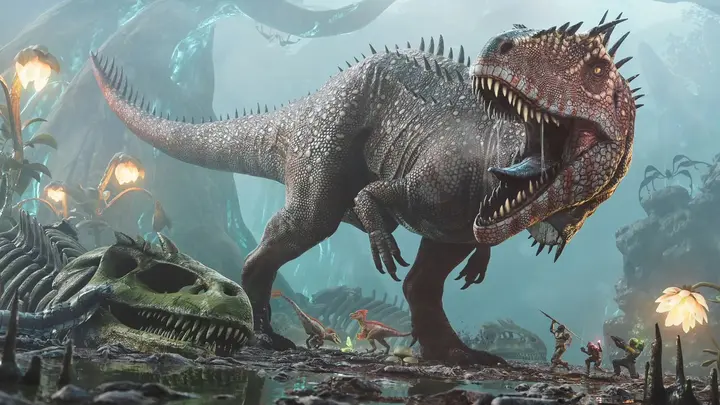
- Bite Primary attack
The Carcha bites, inflicting the Shredded debuff on its target. Provides both the Killing Frenzy and Bloodrage buffs on fatal blows.
5 stamina · 0.67s cooldown - Roar Special 1
The Carcha roars, converting any stacks of the Bloodrage buff into the Incited buff for nearby allies, but not the Carcha itself.
- Tail
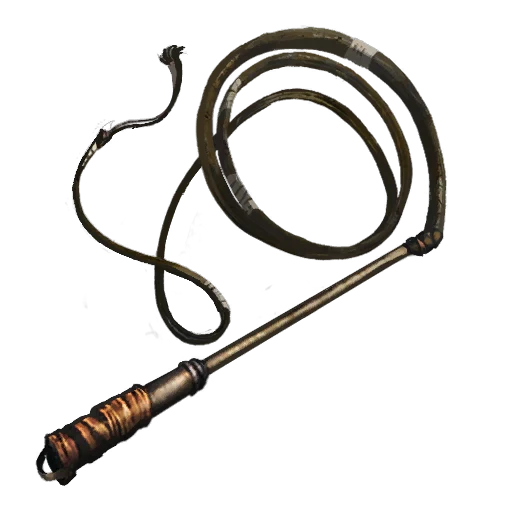 Whip Secondary attack
 The Carcha spins, lashing all opponents around it with its tail and knocking them back. Can be aimed to the left or right to spin clockwise or counter-clockwise respectively. Provides both the Killing Frenzy and Bloodrage buffs on fatal blows.
40 stamina
- Shredded
Applied passively with every bite attack the Carcha lands, similar to the
Giganotosaurus Gnashed effect, but does not induce bleeding; instead reducing healing the victim receives from any source. - Killing Frenzy
On landing a fatal blow, the Carcha gains the Killing Frenzy buff for 10 seconds; which boosts Movement Speed and makes the Carcha immune to Stuns for the duration. Every kill the Carcha lands refreshes Killing Frenzy's timer, but does not extend it.
- Bloodrage
Gained alongside Killing Frenzy by landing fatal blows, Bloodrage similarly provides two buffs; boosting the Carcha's healing rate and Melee Damage by 1.75% per stack. Unlike Killing Frenzy, Bloodrage is not locked to a timer and grows progressively stronger and longer-lasting; stacking on itself up to 100 times, ending in a whopping 175% increased damage and healing rate. Bloodrage degrades slowly at first, but if the Carcha goes so long without a kill, it begins to degrade faster until either 0 stacks are reached or the effect is refreshed by a new kill. The higher the base health of the enemy killed, the more stacks gained per kill.
- Incited
On roaring, any and all stacks of Bloodrage are consumed to provide the Incited buff to all nearby allies, but not the Carcha itself (other allied Carchas can provide the buff to each other, however). On application, Incited gives a temporary boost to Movement Speed, with an increased duration for every stack of Bloodrage converted to apply it; capping out at 55 seconds for 100 stacks of Bloodrage.
- Hypercarnivore
Much like the
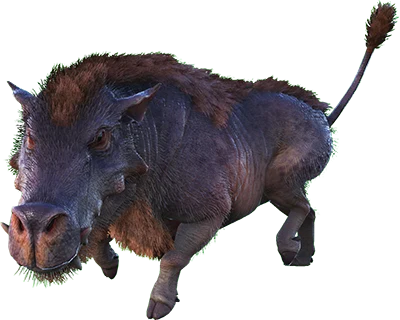 Daeodon, Carchas process food differently than most tames, with plain
 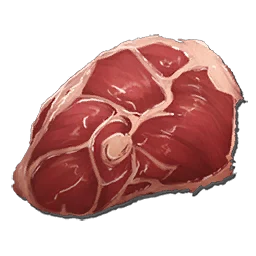 Raw Meat being the only food a Carcha will ever need; far outpacing any other food source, even Kibble, when eaten by the Carcha. The reason normal raw meat is so effective is due to how healing works in ARK; to regenerate and maintain Health, the Food stat is what drains to fuel this. Due to the insane healing rates a Carcha can achieve at high stacks of Bloodrage, their healing can literally be so effective that it drains their food stat to empty in a matter of seconds, which would normally start dealing starvation damage. Their ability to completely refill their stomachs even on one stack of average raw meat entirely negates this issue, and they eat quickly enough on their own to fuel their self-healing. This makes Carchas one of the few tames to negate the need to force-feed to speed up healing.
Details
everything else the game files recordWhere it turns up
pages that mention this one1- Tek Cavecave guide · The Island