

 0
0 
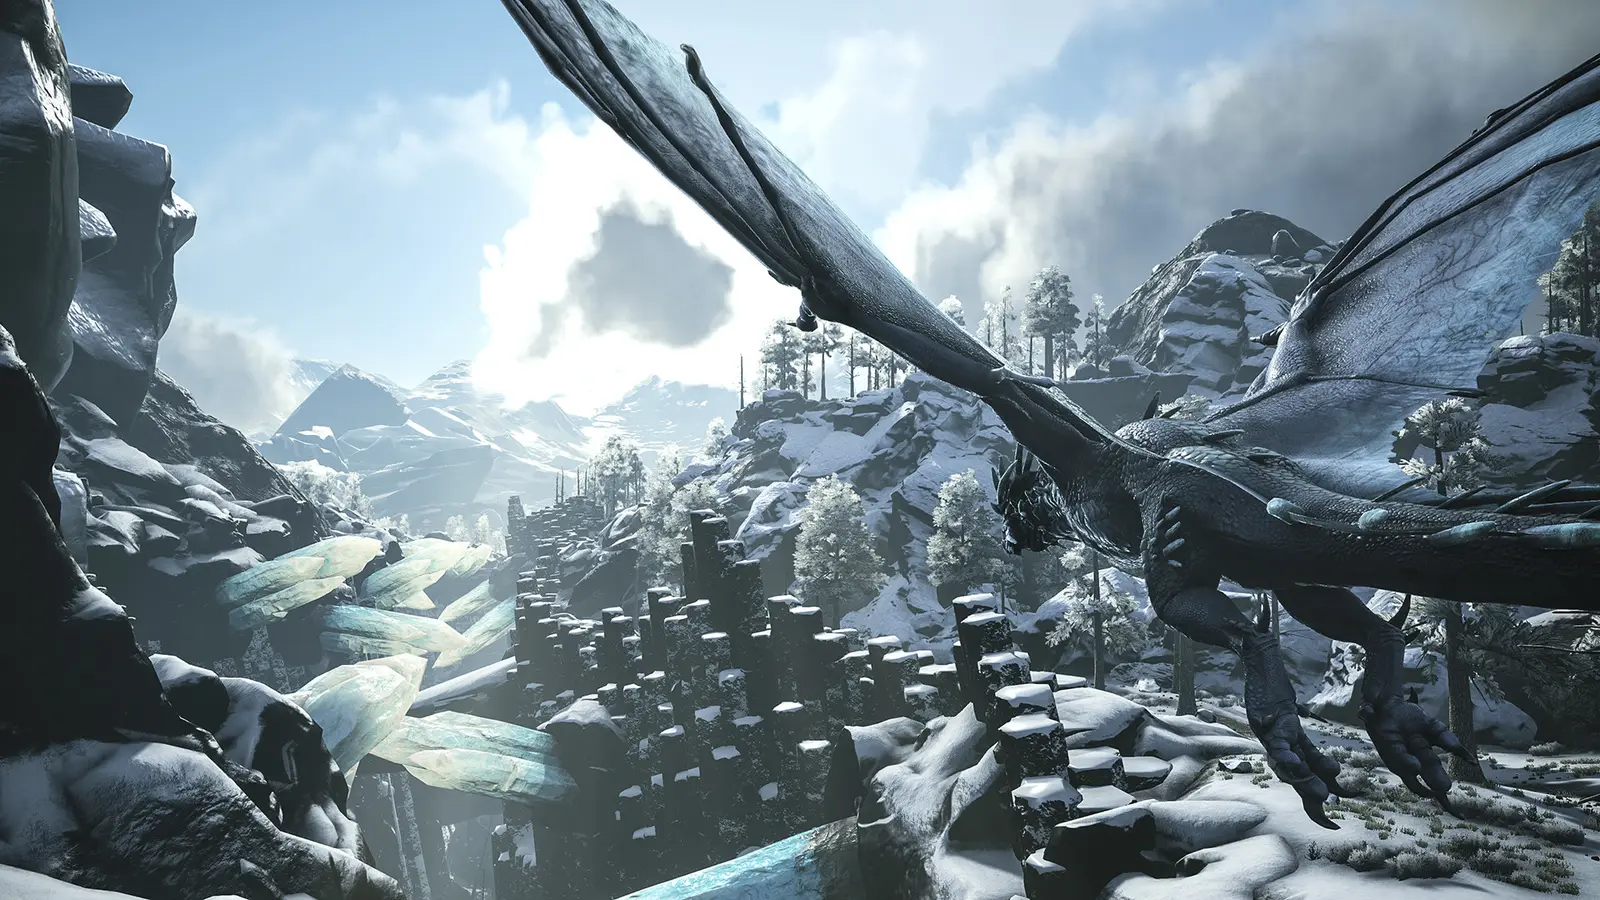
ZOMBIE POISON WYVERN
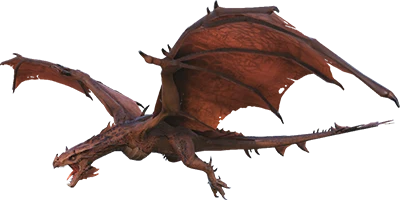
The Zombie Poison Wyvern is a carnivore, with a drag weight of 416. It is rideable.
Stat Calculator
point distribution & extractionRoll Quality
how lucky these wild points areKnock Out
Zombie Poison Wyvern at a glance
the game's own base values — the calculator above levels them| Stat | Base (level 1, wild) | Per wild level | Per tamed level |
|---|---|---|---|
| Health | 1,295 | 194.3 | 3.2% |
| Stamina | 315 | 15.8 | 5.0% |
| Oxygen | 150 | 15 | 10.0% |
| Food | 1,800 | 180 | 10.0% |
| Weight | 400 | 8 | 4.0% |
| Melee Damage | 100% | 5% | 1.7% |
| Movement Speed | 100% | — | 1.0% |
| Torpidity | 725 | 43.5 | — |
A wild Zombie Poison Wyvern starts at 1,295 health and 100% melee damage. Its drag weight is 416, which decides what can carry it. Killing one gives 120 base XP.
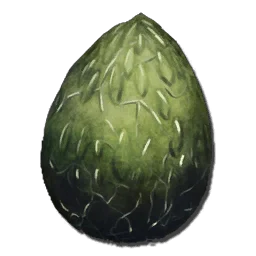
Breeding: lays an egg, incubating in under a minute, and the baby matures in 3d 20h 35m with 11 imprints available . Mating cooldown runs 18h to 2d.
Immobilised by: Chain Bola, Large Bear Trap.
Taming Calculator
Lv 150 · knockoutHow You Get One
this creature is not tamedAlso true
- Spawns during the Fear Evolved event. The elemental Wyverns it resembles are obtained from eggs; this variant is not.
Timers
start them when you knock it outServer Rates
every number on this tab is calculated at these ratesTame Guide
traps, methods & egg runs

Eggs
Adult Fire, Lightning, Poison and Ice Wyverns cannot be tamed. To acquire a tamed Wyvern, the player must hatch a  Fertilized Wyvern Egg, which comes in four varieties:
  Fire Wyvern Egg,
  Lightning Wyvern Egg,
  Poison Wyvern Egg, and
 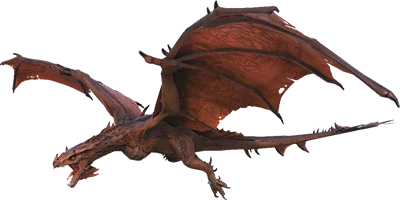 Ice Wyvern Egg. These eggs must first be acquired by stealing from the nests of wild Wyverns, after which successive generations of tamed Wyverns can be bred, and traded between tribes. Stealing these eggs is not an easy feat, as the nests are often guarded by large swarms of adults patrolling the nesting grounds; inciting aggression from individuals just by getting too close, and the entire flock will give chase if an egg is successfully taken from a nest. Whenever a wild Wyvern tries to spawn an egg, it looks for the nearest possible (predetermined) location within a kilometre. Those predetermined locations can be checked on interactive spawn maps.
One method to steal an egg is to remove all items and auxiliaries, including armor and shoulder pets, and excluding the bare essentials like water, food and  Medical Brew, at base, and take a decent-leveled
 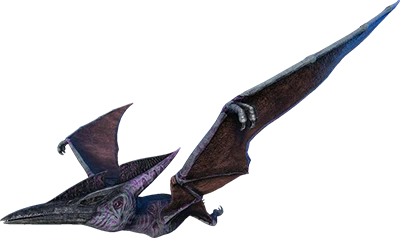 Pteranodon, for which you have deemed expendable, with many levels into Movement Speed, and dive into the trench in search of eggs, never spending much time in any given survey to evade belligerent Wyverns. This is useful for gathering lone, high level
  Wyvern Egg, but not so much for grabbing large quantities of eggs in one go due to the Pteranodon's low Weight.
Unlike other tames which get level-boosted after taming, Wyverns do not, and the young hatch as the same level of the parent who laid the egg. To compensate for this, the maximum level of a wild Wyvern is 190. To get the best stats for your baby and establish a high-level breeding project, only the highest leveled eggs should be prioritized. Lower level eggs should still be taken, however, to encourage new eggs to spawn. These lower-leveled eggs do have a use, and aren't just inventory clutter; as they can then be used to make  Extraordinary Kibble, the finest generalized taming food available.
Once an egg is in your possession, unlike most, Wyvern eggs require a lot of heat to incubate properly: having a temperature range of 80 to 90 °C / 176 to 194 °F. Placing down a large number of any heat-emitting object such as 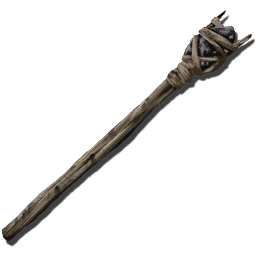 Standing Torch,
  Campfire, or
 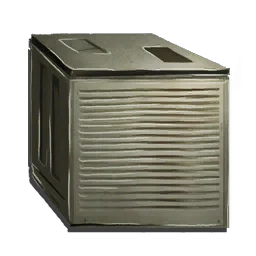 Air Conditioner, will work, though this can require constant adjusting to account for changes in temperature as the time of day and the weather alternates (Air Conditioners specifically provide insulation rather than heat, and enough of them will ensure a stable temperature). Alternatively, the egg can be dropped near a
 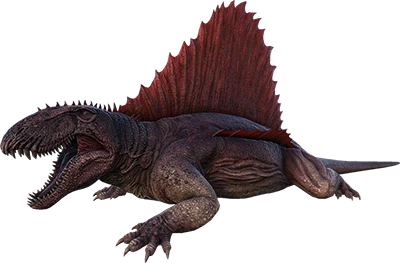 Dimetrodon, which provides an insulation boost dependant on its Damage stat, though in most cases additional heat sources will need to be used alongside the Dimetrodon (though less than if a Dimetrodon is not used). Perhaps the best available option now would be the new
 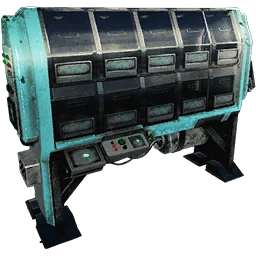 Egg Incubator, which can safely store, incubate, and hatch up to 10 Wyvern eggs at a time, though with the condition that you have to manually set the temperature for the machine. Under perfect temperature stability, Wyvern eggs take 5 hours to hatch.
Raising
Newly hatched Wyverns cannot be fed  Raw Meat like most other carnivores, and will only start accepting meat once fully grown. Before they reach the adult stage, their food bar drops slowly and they will only consume
  Wyvern Milk (and may ask for it when imprinting, regardless of age). To acquire the milk you need to feed your hatchlings, you must either kill an Alpha Wyvern (which provides 50 milk), or knock out a wild female Wyvern and harvest it from her inventory while she is still unconscious (this provides 5 milk at a time, but the milk in her inventory is restocked completely once every hour). Doing this is easier said than done, but the process can be made easy with the right equipment or tames.
To kill an Alpha Wyvern, you'll need a very powerful tame with lots of health, damage, and an attack that can easily hit a fast-moving and flying opponent. Alpha Wyverns can easily be identified at a distance by their size and the red glow that surrounds them. To knock out a wild female Wyvern for milking, you will need a 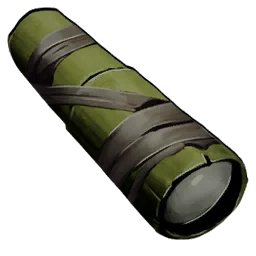 Spyglass to identify the gender of a wild Wyvern from a distance. Once a female has been found; draw her attention by triggering her aggression, then lead her to a safe area where you can contain her. Following this, the best option is to bring her down with a
 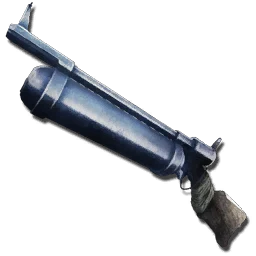 Harpoon Launcher loaded with a
 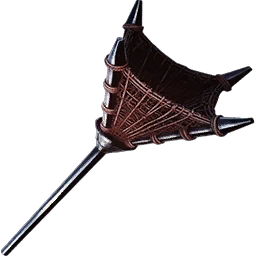 Net Projectile, which will ground and lock her in a 1-Minute stun, during which she cannot attack and will be safe to approach. While netted, a cage of 3-4 tightly spaced
  Stone Dinosaur Gateway can be built to lock her in place even after the net breaks. From here, any various knock-out method you'd like can be used at your leisure.
Wyvern Milk gives 1200 food to the baby Wyvern. A growing baby Wyvern will consume approximately 1 unit of food every 10 seconds, or 360 units of food an hour. This means that one feeding of Wyvern Milk will sustain a baby Wyvern for about 3 hours and 20 minutes. An important detail about newly hatched Wyverns (especially at lower levels) is that even though the maximum food stated in the creature's statistics might be several thousand, the maximum food the baby can actually hold might be less than 1200 (the amount of food one Wyvern Milk delivers). This means that lower level baby Wyverns will never eat milk on their own, and will have to be force fed Wyvern Milk until they can actually hold more than 1200 food. As such, it is adviseable to only hatch and raise higher leveled eggs, as higher quality babies with higher food stats are easier to raise, and can contribute their higher stats to breeding projects once they reach adulthood.
If you don't have the resources to gather milk, It's actually possible to raise a baby Wyvern without it (though this can negatively impact imprint quality). Let the Food value drop to zero. At this time, the value for Health will fall and the Torpor will raise. Place a 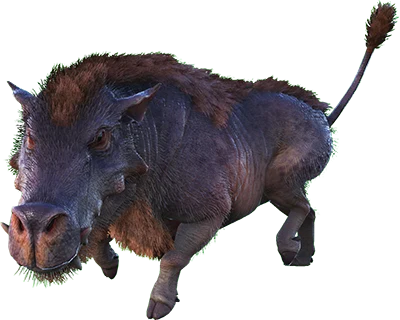 Daeodon nearby and set it to Passive Healing. This keeps the Health of the baby Wyvern up (or restores it) at the cost of providing the Daeodon with food, as healing makes it very hungry. As an alternative to feeding the Daeodon tons of Raw Meat or Prime Meat that will spoil over time, you can produce a lot of cheap Kibble, such as
 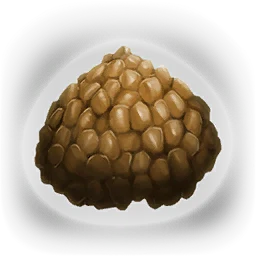 Basic Kibble made of
 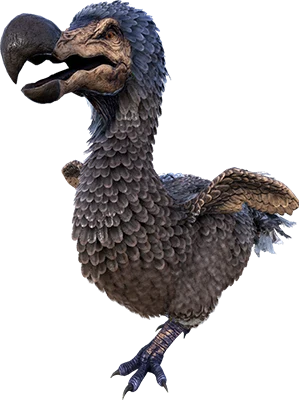 Dodo eggs, which will provide 90 food and only spoils after 3 days. This strategy is more effective when used with high-level Wyverns and Daeodons because they have higher starting values for Food and Health, thus more reserves before they run out. Alternatively a
 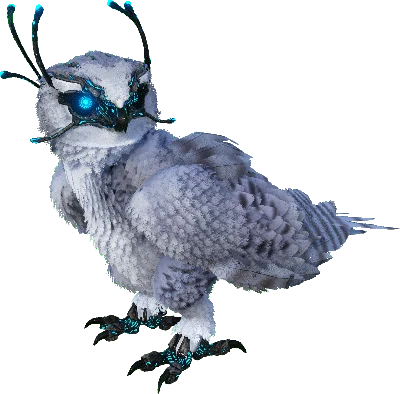 Snow Owl’s healing ability can be used, but this is more difficult, as the Owl must be ridden to force it to heal, and this can cause timing difficulties with feeding stimulants to the baby.
In ASA, one can obtain  Bison Milk from female
  Bison located on Ragnarok to raise wyverns, so long as there is a baby/juvenile/adolescent Bison in the vicinity. Bison can be milked once per hour on servers, or 15 minutes in Singleplayer. Bison milk can also be used to imprint in place of wyvern milk with the added bonus that it will immediately progress the wyvern's maturity by 10%.
Breeding
Once you've acquired your first generation of adults, Wyverns of the same type can be bred with one another to produce new eggs (Wyverns of different types cannot interbreed). Keep in mind, although you now have the means to breed continued generations, either super-breed or mutate for higher levels, and you no longer necessarily have to steal from wild nests, raising the generations you have bred in captivity still require milk, and for this: Alpha and wild female Wyverns are needed. Tamed female Wyverns will not produce milk to feed offspring, milk can only come from wild Wyverns. This means that Wyverns should not be bred off of maps they do not spawn in, unless cross-server item transfers are enabled, or your babies are likely to starve (or you can make use of the no-milk method above).
Utility
• Wood/Thatch/ Cactus Sap Collector: They can collect large amounts of Wood, Thatch, and Cactus Sap when landed by pressing . They will collect Thatch and Cactus Sap much more efficiently than Wood.
• Travel: Wyverns are faster than other Scorched Earth flyers and have less stamina drain. Beware their large turn radius, however, as they can be difficult to steer until you've had some practice.
• Hunting Tool: Wyverns are among the best ways to quickly gather large amounts of Raw Meat,  Raw Prime Meat and a wide variety of Tributes; Wyverns are also the only flying creatures treated as large carnivores, meaning that most of the small and medium-sized aggressive wildlife is prone to ignore them and their riders unless provoked, greatly reducing the nuisance while traveling.
• 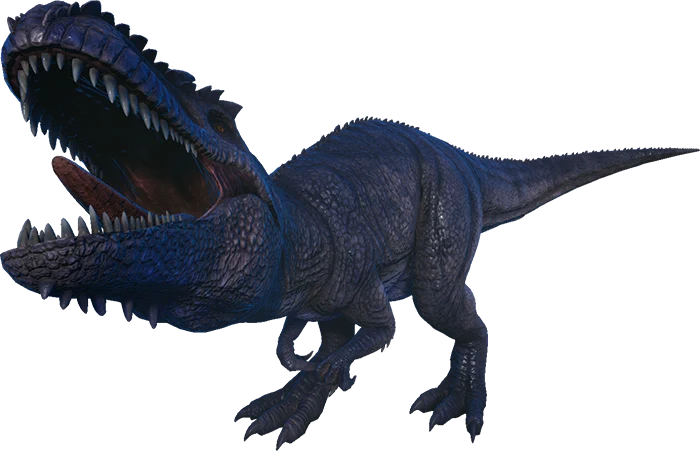 Giga Counter: Wyverns can easily dispatch of Giganotosaurus from a distance with their breath (lightning is recommended for the highest damage output).
• Titan Hunter: Wyverns can quickly dodge a titan's attacks. They are best used against the Desert titan since it uses only flocks for damage.
• Damage: Wyverns deal large amounts of damage with their bite and breath attacks; they're some of the most powerful flying creatures in the game. While they may not match a 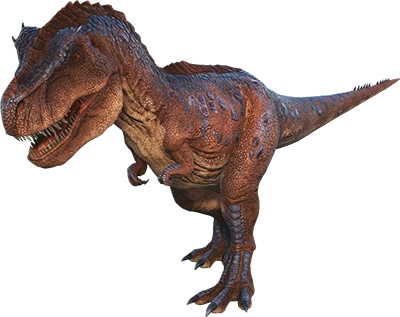 Rex for sheer damage output, a Wyvern can be flown across the map and is extremely maneuverable.
• Transport: Wyverns can carry a decent amount of weight and are quite quick. Using a Wyvern, one might safely and quickly transport people or materials across an map.
• Experience Farm: Wyverns gives a lot of Experience comparatively to most other creatures. Breeding and mass killing baby Wyverns could be a quick way to level up.
• 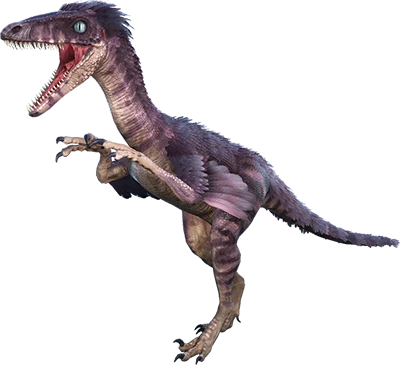 Troodon Taming: Thanks to the enormous amount of experience they provide, a level 80 Wyvern is enough to tame a 150 Troodon during the night.
Breeding
egg → adultDrops & Harvest
On death
Abilities
what it does and how you trigger it 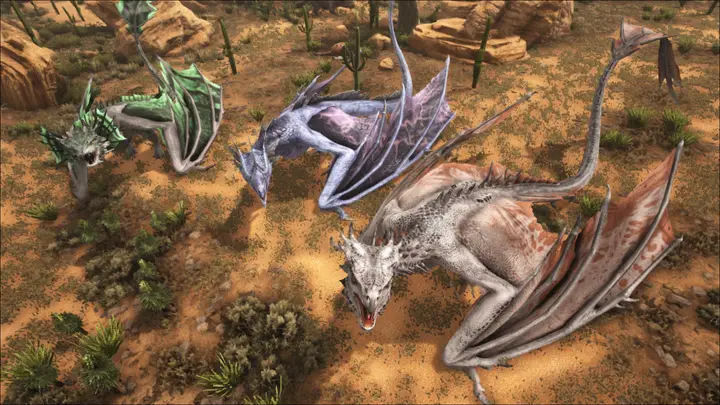

- Bite Primary attack
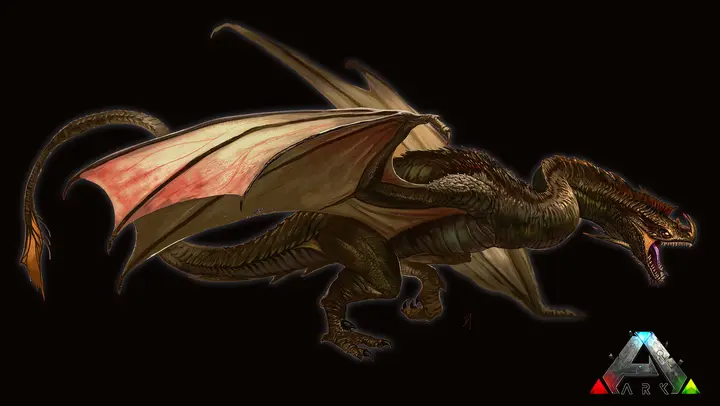
The Wyvern bites the target for 80 damage.
10 stamina · 0.72 cooldown - Grab Special 1
While in air, the Wyvern can pick up another creature. Grabbing does no damage to the target.
40 stamina · 1 cooldown - Taunt Special 1
While on ground, the Wyvern flaps its wings and taunts the target. Does no damage. This pushes creatures in front of the Wyvern away.
2 stamina · 1.55 cooldown - Breathe Fire Secondary attack
The
Fire Wyvern sets the target on fire. 8% of target's maximum health, but no more than 450 and no less than 72, is dealt to the target over 6 seconds. Ignores all armor, but not innate resistance. The Enflamed debuff is inflicted by eight invisible projectiles fired during the animation. Each deals 26 immediate damage each (scaled by the Melee Damage stat).125 stamina - Breathe Lightning Secondary attack
The
Lightning Wyvern fires a concentrated beam of lightning. 25 immediate damage per server tick is dealt to the target. The damage scales linearly with the Melee Damage stat, and bypasses most armor (It will degrade it). One breath lasts 3.3 seconds.160 stamina - Shoot Poison Secondary attack
The
Poison Wyvern shoots a single projectile of poisonous gas, which explodes upon impact, or disappears after 5 seconds if it does not hit anything The projectile deals 100 immediate damage to a directly hit target. The explosion deals 80 immediate damage and this falls off over 5 meters. A 5 meter gas cloud appears for 5 seconds at the place the projectile hits, and deals 10 damage every 0.4 seconds. All damage dealt by this attack ignores armor, but can be mitigated with a 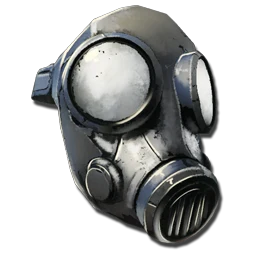 Gas Mask. Only direct impact damage scales by Melee Damage stat.85 stamina
 - Breathe Ice Secondary attack
The
Ice Wyvern breathes ice. Targets hit are slowed by 50% for 10 seconds. The Frozen debuff is inflicted by six invisible projectiles fired during the animation. Each deals 20 immediate damage each (scaled by the Melee Damage stat). Bosses are not affected by the debuff. Dealt damage is affected by armor.160 stamina - Flight Jump
Identically to all other flying creatures, Wyvern flight shares the same mechanics and controls. Press the key again when near ground to land. The Wyvern has access to all of its other abilities while airborne, with the exception of the knockback taunt, which is replaced with the grab move mapped to the same button. Ridden Wyverns have a far wider turning radius while airborne, compared to unridden Wyverns which have a far sharper turning radius. This can make combatting wild Wyverns with your tamed one difficult.
- Breath immunity:
A hidden passive that isn't readily apparent is that each type of Wyvern is immune to the breath attack of its own kind and the status effects they afflict, and in most cases, that immunity is likewise shared by the rider. The only exception to this is the breath of the Poison Wyvern, which will still damage the rider of another Poison Wyvern. The only way for a rider to avoid the damage from a Poison Wyvern's breath is to either equip a Gas Mask, which only mitigates the damage, or a full suit of
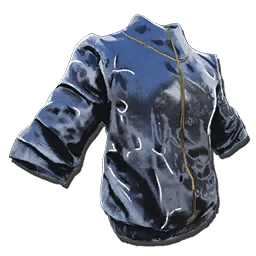 Hazard Gear, which negates all damage. Wyverns of different types, however, are still vulnerable to the breath attacks and the status effects applied by other types of Wyvern (I.E. a Fire Wyvern's breath will harm a Lightning Wyvern, and vice versa).