
 0
0 
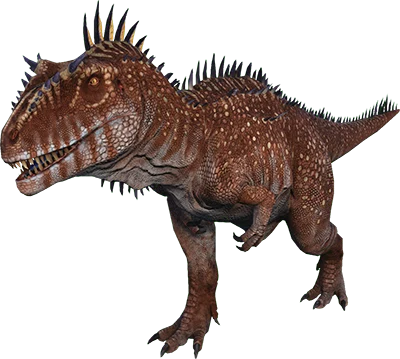
CARCHARODONTOSAURUS
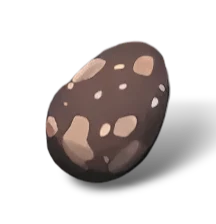
The Carcharodontosaurus is a carnivore found on Astraeos, with a drag weight of 950. Tamed, it harvests Raw Meat and Raw Prime Meat better than most creatures. It is rideable.
Калькулятор характеристик
распределение и извлечение очковКачество ролла
насколько удачны очки этой дикой особиОглушение
Carcharodontosaurus — основные сведения
собственные базовые значения игры — калькулятор выше прокачивает их по уровням| Стат | База (уровень 1, дикое) | За дикий уровень | За уровень после приручения |
|---|---|---|---|
| Здоровье | 70,000 | 56 | 0.1% |
| Выносливость | 480 | 2.9 | 2.5% |
| Кислород | 150 | 0.4 | 2.5% |
| Еда | 4,000 | 10 | 2.5% |
| Вес | 650 | 13 | 1.0% |
| Урон в ближнем бою | 100% | 5% | 0.9% |
| Скорость | 100% | — | 0.3% |
| Торпор | 6,000 | 360 | — |
Дикий Carcharodontosaurus начинает с 70,000 здоровья и 100% урона в ближнем бою. Его вес переноски составляет 950, что определяет, кто может его нести. Убийство даёт 750 базового опыта.
Разведение: откладывает яйцо, инкубация занимает 2 дн. 1 ч. 59 мин, а детёныш взрослеет за 10 дн. 3 ч. 59 мин, доступно 30 импринтов. Для инкубации яйцу нужна температура 37–39°C. Период ожидания спаривания составляет от 18 ч. до 2 дн.
Обездвиживается: Large Bear Trap.
Лучше всего добывает: Raw Meat, Raw Prime Meat, Chitin, Keratin, Hide.
Роняет при смерти: Raw Meat, Hide, Giganotosaurus Heart.
Калькулятор приручения
Ур. 150 · оглушениеКак получить
метод, по порядкуПошаговая инструкция
- Поймайте его в ловушку. Это не опционально — весь метод основан на том, что оно не может уйти.
- Подтаскивайте к нему туши существ и давайте есть. Над ним появляется шкала доверия, которая заполняется по мере кормления.
- Когда доверие заполнено, садитесь на него верхом. Появляется шкала приручения.
- Убивайте существ, catаясь на нём. Шкала заполняется от убийств, а не от еды.
Также верно
- Невосприимчиво к торпору — транквилизаторы его не свалят, ловушка должна удерживать животное в сознании.
- Более крупные туши дают больше очков, поэтому на практике лучше заранее убить крупного хищника, чем таскать стопку мелких.
Оглушение
- Это существо невосприимчив к торпору от обычных транквилизаторов. Дротики, стрелы и Narcotics не свалят его, поэтому показатели торпора на этой странице описывают его характеристику, а не способ приручения.
Удержание на месте
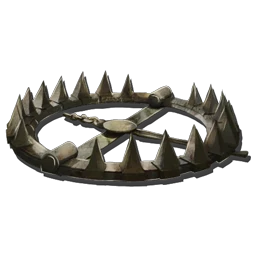 Large Bear TrapТот же принцип, что и у
 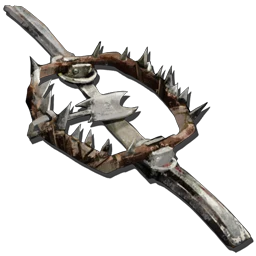 Bear Trap, только рассчитан на крупных существ. Заманите его наступить на ловушку.
Это полный список — больше ничто не обездвиживает Carcharodontosaurus, согласно собственной таблице обездвиживания игры (вес переноски 950).
Таймеры
запускайте их, когда оглушаете существоРейты сервера
все числа на этой вкладке рассчитаны при этих скоростяхРуководство по приручению
ловушки, методы и забег за яйцамиThough similar to one another, the Carcharodontosaurus is tamed not through knock-out like the 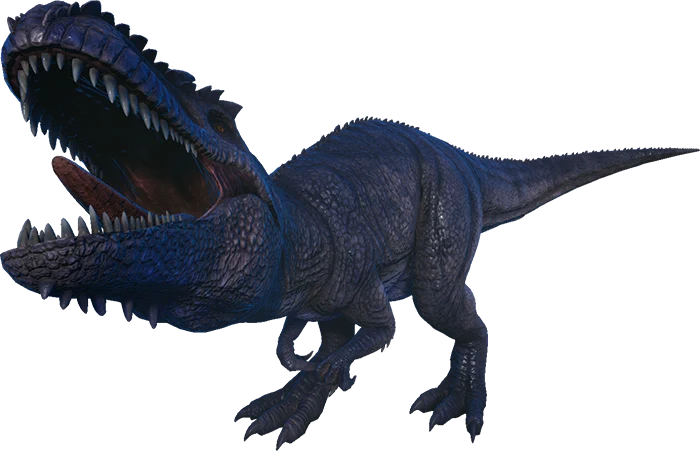 Giganotosaurus, but passively through dragging fresh kills to it; appeasing the animal through offerings to build trust, showing the beast you can hunt for it, before it will allow you to hunt with it. This can be a dangerous and difficult process, as the Carcha lives in areas in which it can be surrounded by numerous wild carnivores that will attempt to eat the offering you give it before it can do so itself;
 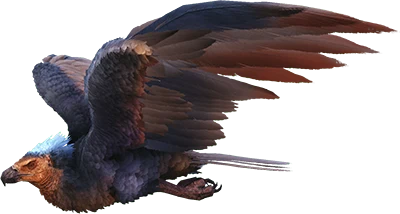 Argentavis especially are a plague and a scourge to this stage. You will want to begin the taming process by eliminating any and all wild carnivores anywhere near the Carcharodontosaurus. Once this is done, you will know it has accepted your offering if it rears up and sniffs at the air, before walking over to slowly eat the kill at its leisure. The very second you see it start to sniff the air: drop the body immediately and retreat as quickly as you can by any means necessary. If your offering is not enough to completely fill the trust meter in one feeding, the Carcha will not hesitate to eat you after it's finished with your offering.
Чем больше вес переноски предложенной туши, тем сильнее она заполняет шкалу доверия Carcha, которая быстро падает, если не заполнить её за один присест. Из-за этого выстраивать доверие с помощью мелких туш может быть сложнее, тем более что Carcha часто с трудом принимает несколько подношений подряд. Как только доверие с Carcharodontosaurus установлено, оно позволит выжившему забраться на себя и даст шанс показать, что тот достоин направлять его жажду крови. Начнётся короткое окно времени, в течение которого вам позволено ездить на диком Carcha и командовать им, прежде чем приручение завершится или вас сбросят (изначально 600 секунд). Вас будут сбрасывать со спины через определённые интервалы приручения (каждые 20% для 150 уровня при скорости приручения 1x; на серверах с более высокой скоростью приручения частота сбрасывания снижается или исчезает вовсе). Если вас сбросит до достижения интервала приручения, это приведёт к потере эффективности приручения. Если вас сбросило со спины, нужно повторить подношение туш, прежде чем оно снова позволит вам сесть верхом и продолжить приручение. Приручение продвигается за счёт нанесения смертельных ударов по добыче во время верховой езды на Carcha, но учтите, что любой урон, полученный Carcha в этот момент, снижает эффективность приручения, что приводит к более низким бонусным уровням по завершении. Сосредоточьтесь на добыче, которая, как вы знаете, с меньшей вероятностью успешно даст отпор и нанесёт урон Carcha. По завершении приручения вы упадёте со спины Carcha, и дальнейшая езда на нём потребует его седла.
Ниже перечислены краткие советы и стратегии, которые могут облегчить сложность задачи приручения Carcharodontosaurus:
• Консоль против ПК: на ПК-версии игры ваш ездовой питомец способен переносить туши за вас — туши, которые слишком велики, чтобы человек мог тащить их вручную, что значительно облегчает подношение туш Carcha. На консоли этой возможности нет, поэтому приходится прибегать либо к более трудоёмким усилиям, либо к альтернативным стратегиям.
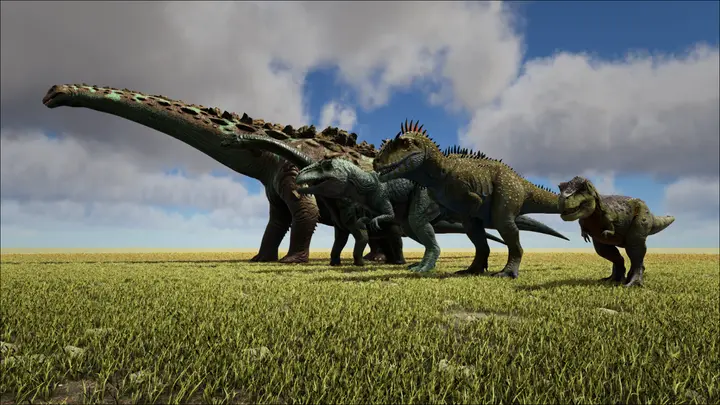
• PvE vs PvP: It can actually be more difficult to tame a Carcha on PvE settings than PvP. On PvP settings, you can release baby creatures from Cryopod, unclaim, slaughter, and then offer them to the Carcha. The best strategy is to utilize baby 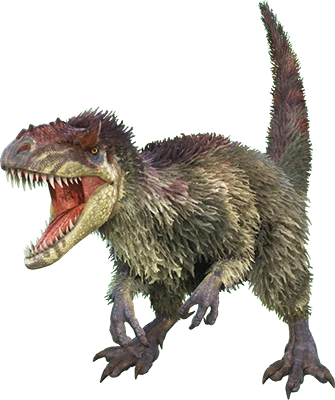 Yutyrannus or a baby
 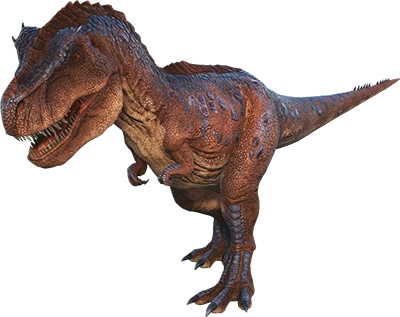 Rex, which have the required drag weight to fill the trust meter in one go, and whose corpses are still able to be dragged by the player in their infancy. You can also use unclaimed dinos with high maximum health like
 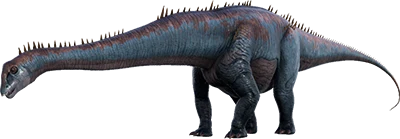 Diplodocus as fodder for the riding segment of the taming process, allowing for taming to be done in a very controlled environment. PvE settings prevent this strategy, unless the Disable Friendly Fire setting is disabled. Be aware that you can still use your babies as sacrifices to fill its trust meter by letting the babies starve to death even with Friendly Fire disabled.
• Flyer Platform Unaligned Basing: If this setting is enabled, a 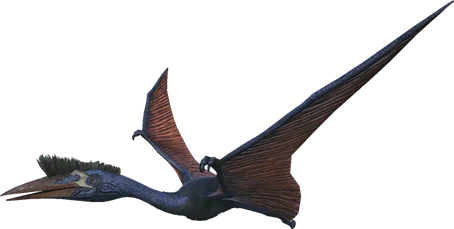 Quetzal with a
 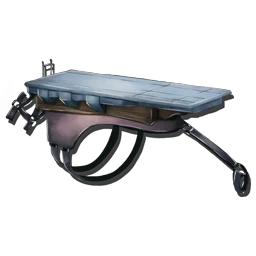 platform saddle may be used with the above strategy. With a partially closed 'slaughter box' built on its back to prevent losing your bait, you can position a flying Quetzal above the wild Carcha, and utilize the baby Yutyrannus and Cryopod technique, without putting yourself in danger of being attacked by the Carcha; dragging the slaughtered corpse to the edge of the platform, waiting for the sniffing animation, then dropping the bait. Even after the Carcha allows you on its back, the Quetzal can be set to follow and function as a flying safety net to escape to if the Carcha bucks you off its back. This is perhaps the easiest and safest strategy to employ.
• Ловушки: постройка ловушки, чтобы удержать Carcharodontosaurus в безопасной и контролируемой зоне для этапа кормления ради доверия, создаёт свои проблемы. Из-за особенностей ИИ динозавров Carcharodontosaurus часто с трудом принимает предложенные туши, будучи запертым в постройках, и даже после того как его оттуда выпустили. Это может полностью сорвать приручение, хотя выход из радиуса прорисовки Carcharodontosaurus и возвращение обратно, как известно, иногда решает проблему. Результаты могут быть разными, используйте ловушки на свой страх и риск — вы предупреждены. Тем не менее ловушки хорошо подходят для того, чтобы безопасно удерживать Carcharodontosaurus в одном месте, если приручение приходится отложить и вернуться к нему позже.
• Equipment: Bringing a few of these things along can help in the taming process, primarily by keeping you alive if your trust food isn't good enough to fill the meter in one feeding, or the Carcha bucks you off. A full suit of 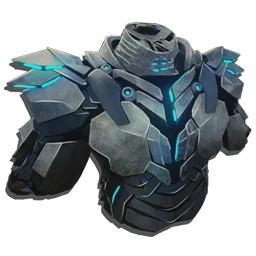 Tek Armor fueled up with
 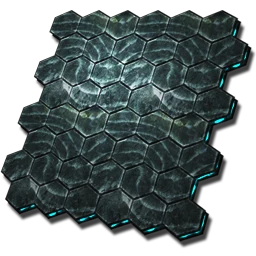 Element is probably the best escape option for both the trust feeding and buck-off scenarios; quickly able to catapult you up into the air with a jetpack thrust and get you out of range from the Carcha's bites. A
 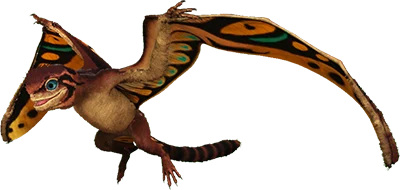 Sinomacrops can do this as well, but lacks the speed of the Tek Pack's thruster, and is the less safe option. As a distraction,
 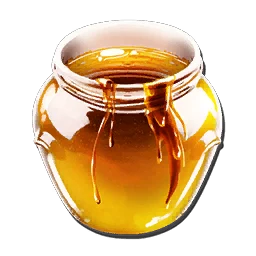 Giant Bee Honey can be dropped from the tool bar to save your skin, and
 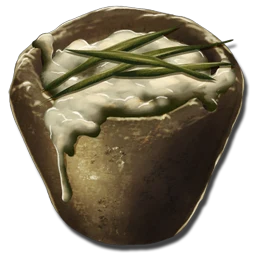 Bug Repellant can be used to lower the Carcha's aggression range against you.
Разведение
яйцо → взрослыйДобыча и сбор
После смерти
Способности
что она делает и как её активировать 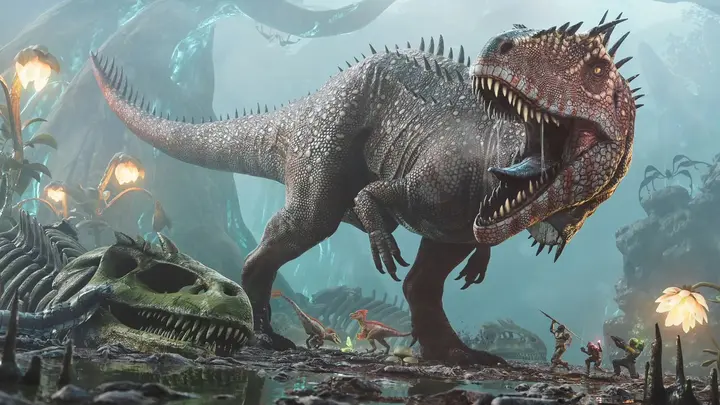
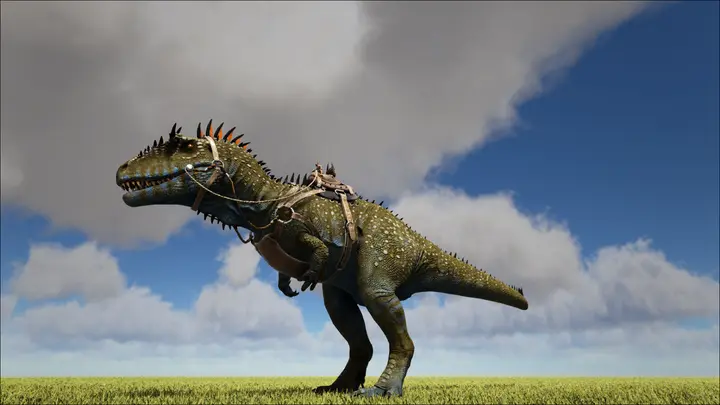
- Укус Primary attack
The Carcha bites, inflicting the Shredded debuff on its target. Provides both the Killing Frenzy and Bloodrage buffs on fatal blows.
5 stamina · 0.67s cooldown - Roar Special 1
The Carcha roars, converting any stacks of the Bloodrage buff into the Incited buff for nearby allies, but not the Carcha itself.
- Tail
 Whip Secondary attack
 The Carcha spins, lashing all opponents around it with its tail and knocking them back. Can be aimed to the left or right to spin clockwise or counter-clockwise respectively. Provides both the Killing Frenzy and Bloodrage buffs on fatal blows.
40 stamina
- Shredded
Applied passively with every bite attack the Carcha lands, similar to the
Giganotosaurus Gnashed effect, but does not induce bleeding; instead reducing healing the victim receives from any source. - Killing Frenzy
On landing a fatal blow, the Carcha gains the Killing Frenzy buff for 10 seconds; which boosts Movement Speed and makes the Carcha immune to Stuns for the duration. Every kill the Carcha lands refreshes Killing Frenzy's timer, but does not extend it.
- Bloodrage
Gained alongside Killing Frenzy by landing fatal blows, Bloodrage similarly provides two buffs; boosting the Carcha's healing rate and Melee Damage by 1.75% per stack. Unlike Killing Frenzy, Bloodrage is not locked to a timer and grows progressively stronger and longer-lasting; stacking on itself up to 100 times, ending in a whopping 175% increased damage and healing rate. Bloodrage degrades slowly at first, but if the Carcha goes so long without a kill, it begins to degrade faster until either 0 stacks are reached or the effect is refreshed by a new kill. The higher the base health of the enemy killed, the more stacks gained per kill.
- Incited
On roaring, any and all stacks of Bloodrage are consumed to provide the Incited buff to all nearby allies, but not the Carcha itself (other allied Carchas can provide the buff to each other, however). On application, Incited gives a temporary boost to Movement Speed, with an increased duration for every stack of Bloodrage converted to apply it; capping out at 55 seconds for 100 stacks of Bloodrage.
- Hypercarnivore
Much like the
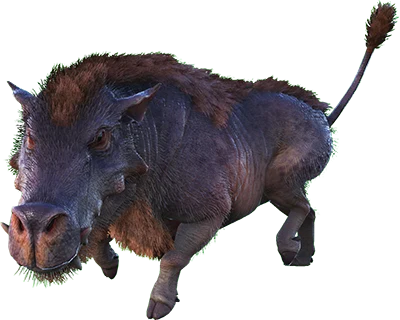 Daeodon, Carchas process food differently than most tames, with plain
 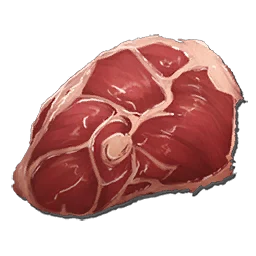 Raw Meat being the only food a Carcha will ever need; far outpacing any other food source, even Kibble, when eaten by the Carcha. The reason normal raw meat is so effective is due to how healing works in ARK; to regenerate and maintain Health, the Food stat is what drains to fuel this. Due to the insane healing rates a Carcha can achieve at high stacks of Bloodrage, their healing can literally be so effective that it drains their food stat to empty in a matter of seconds, which would normally start dealing starvation damage. Their ability to completely refill their stomachs even on one stack of average raw meat entirely negates this issue, and they eat quickly enough on their own to fuel their self-healing. This makes Carchas one of the few tames to negate the need to force-feed to speed up healing.
Подробности
всё остальное из файлов игрыГде встречается
страницы, где оно упоминается1- Tek Caveпутеводитель по пещерам · The Island